Tuesday, September 25, 2012

Crockpot Mac n'Cheese- Best Potluck Item Ever

Doing a Tailgating theme potluck at work today. Put it on in my office at 9am and done by noon. Perfect..

4 cups milk
2 cans evaporated milk
2 eggs
Wisk, then add:
28 oz velveeta cheese, cubed
1 1/2 bags 16 oz. elbow macaroni (uncooked)

Cook on low in crockpot for 2-3 hours, stiring occasionally.


Wednesday, September 19, 2012

Topiary Centerpiece

This cute topiary was made by my sister. She made one for each of the tables at a bridal shower. I brought this one to work and have it on my desk. I have had tons of compliments!

It is bright and cheerful and stands about 18 inches tall. They can be made with any theme just by changing the ribbons or colors. Each ribbon is made into a loop and attached with a straight pin to a Styrofoam ball. The ball is attached to a wooden dowel and glued into a flower pot. Paint and decorate to your taste.


Thursday, September 13, 2012

Asking A Girl To Homecoming with a Brick?


After a lot of encouragement my 16 year old nephew finally got the nerve to ask a girl to Homecoming. But, then he was horrified when she gave him a “verbal” agreement to go to Homecoming with him, and she would wait for his “special way of asking” before her official answer.
Now the pressure really started. The poor kid was a wreck. That’s when his Mom and I had to join the mission. I am happy to say that after a trip to Home Depot, Kroger, and an after-dark knock and drop at her front door, the mission was accomplished…

With the help of Momo’s muscles the boys delivered a big cinder block with the word “NO” glued to it, a small paving brick with the word “YES” glued to it, a bouquet of flowers, and a tub of Rocky Road ice-cream at her door. Attached to the flowers was a note that read,
“On the path to Homecoming… Don’t “block” progress. Hoping your answer will “pave” the way…
Bring your answer to Seminary in the morning."

I received word this morning that she brought the paving brick to him with the word “YES”.

Now for Mum-making lessons. His Homecoming is in 2 weeks!

Tuesday, September 11, 2012

12-Loop Homecoming Ribbon

I am one step closer to completing "the Mum"... Here is the 12 loop Homecoming Ribbon ready to add in to the final product.
 

Supplies:
Two kinds of ribbon, one bigger than the other
for a 36" loop with 12 loops about 4 yards of the wider ribbon and about 3 yards of the narrower ribbon.
for an 18" loop with 12 loops it would be half.

First cut the ribbon. You will want 1 whole yard of the wider ribbon. This one will be your base. Then cut 12 - 7" strips of the wider ribbon and 12 - 7" strips of the narrow ribbon.

Put one piece of the narrower ribbon on top of the wider ribbon and fold them over end to end and line them up. Staple in place. Make all 12 of the loops.

Take the 1 yard ribbon and start at the bottom. Put the bottom one where you want it and staple each loop on each side at the top working your way up as you cover the previous staples.

Add letters and other decorations as you see fit. Have fun..


Easy School Art Display

Now that the kid's are back in school there are the endless school art pages that demand attention. My grandaughter brings home a handful of keepsakes everyday. What to do? Instead of using the ol' magnet on the refrigerator trick, just use a slacks hanger to quickly insert the art for display and rotate them as often as you like. This is one that I made for my husband's desk at work, but a few could be arranged in a grouping on any wall and decorated accordingly. I used my all time favorite decorating supply- rafia. Or as my husband calls it- "Rafiki". I had to inform him that Rafiki comes from Lion King and rafia comes from Hobby Lobby.

Friday, September 7, 2012

Removing Iron-On Transfers When Something Unexpected Happens


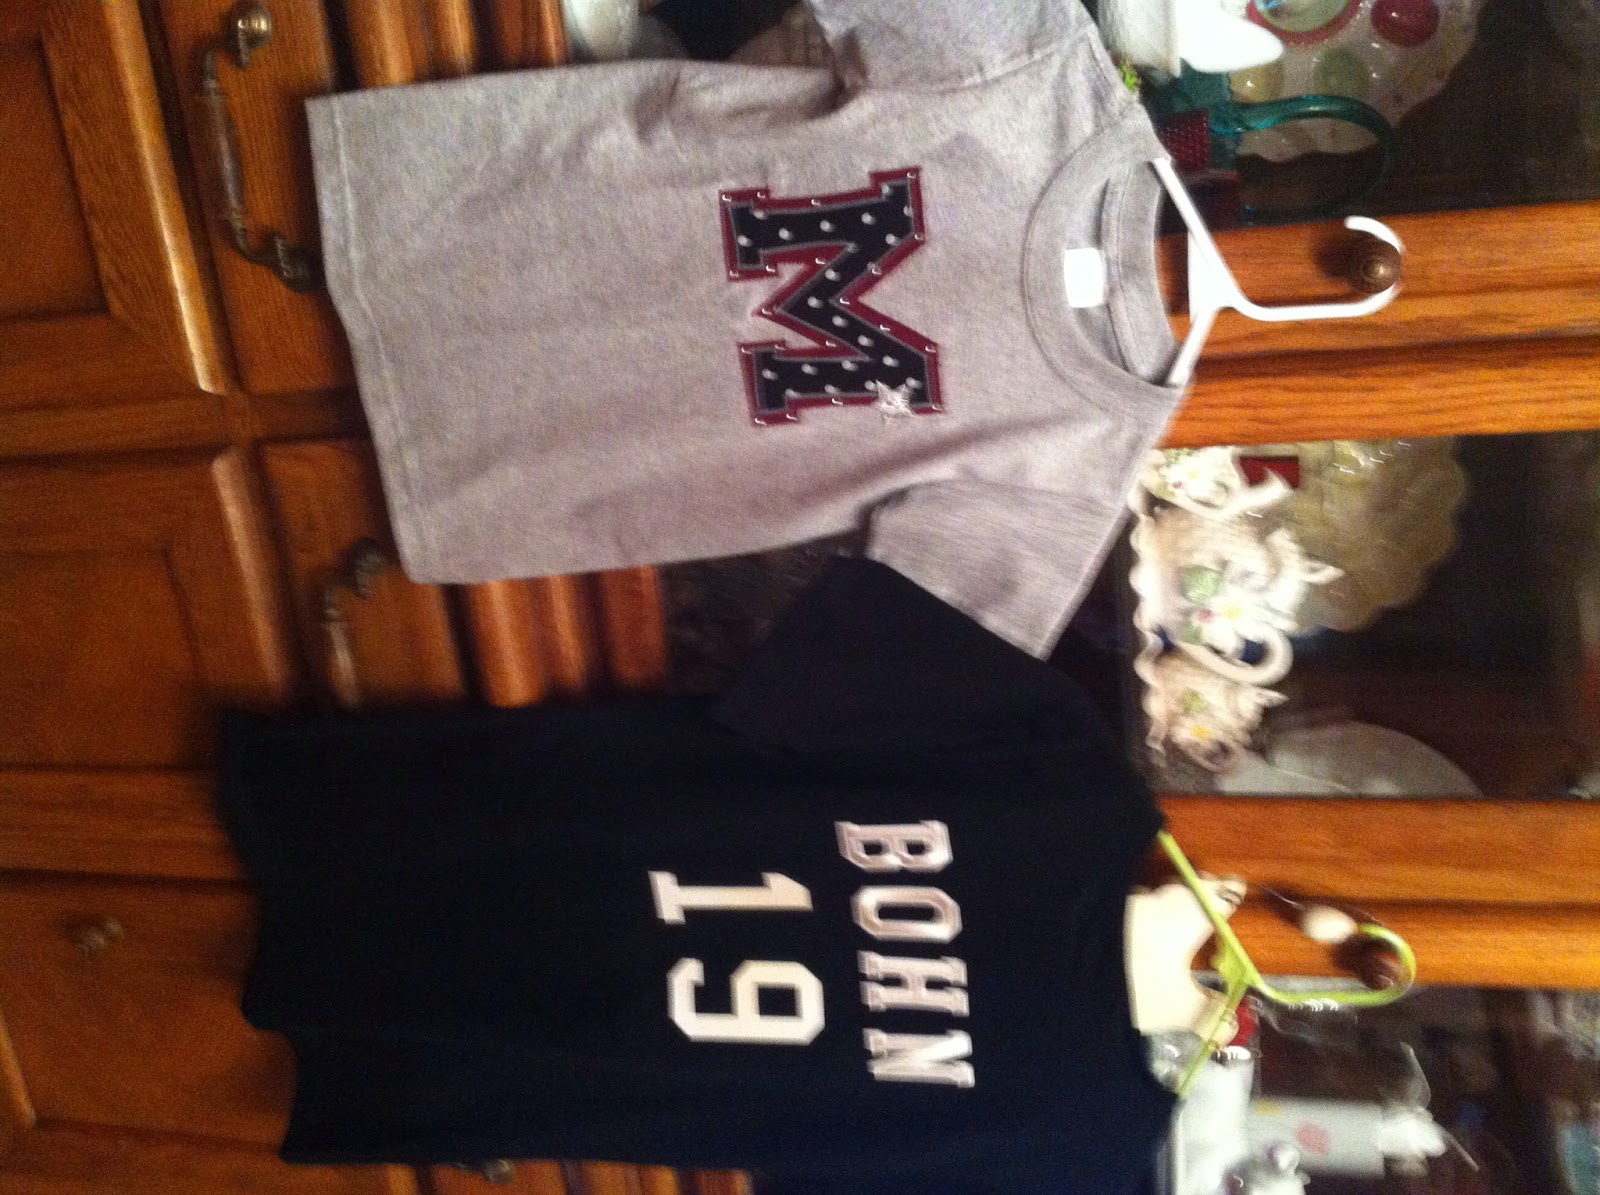
Perhaps you spent all night creating a couple wonderful T-shirts to support your local football team and placed an iron-on number on  them. Suppose that number has changed “somehow” and you now need to change that number from a “9” to a “6”. You can remove an iron-on transfer from clothes using the paper, peel-off, or direct method and reapply a new number.  
'Nuff said...
Instructions                               

Iron-on-Paper Method
1.    Lay a blank piece of paper on an ironing board. The paper should be large enough to cover the iron-on transfer.
2.    Lay the piece of clothing on the paper. The iron-on transfer should be face-down on the paper.
3.    Iron the back of the article. This may take up to five minutes.
4.    Check to see if the transfer is now on the paper.
Peel-Off Method
1.    Cover the iron-on transfer with a piece of a paper and reverse the material.
2.    Iron the back of the shirt (assuming the transfer is on the chest) for about 90 seconds or until you are sure that the transfer is extremely hot.
3.    Reverse the shirt and peel off the paper. The transfer should peel off with it.
Direct Method

1.     Wet the iron-on transfer and area around the transfer.

2.     Iron directly on the iron-on transfer in circular motions with no paper between.

3.  The transfer will begin to melt into little balls. Use a lint brush to pickup the balls of the transfer. 


Tuesday, September 4, 2012

Back To School- Quick Frozen Breakfast

Now that the kids are back in school, mornings are one big whirl. Momo's solution to morning hunger (and afternoon, and evening..) is the Chick-fil-A drive thru. But instead of applying for a 2nd job, I just take some time to prepare a week's worth of quick frozen breakfasts. The least they can do is set the microwave timer for 1.5 seconds. Wah.. Lah.. Breakfast is served.

I cook a batch of pancakes and put a short stack of 3 in a sandwich bag. The kids just pull out a bag and pop in the microwave.


When I am feeling generous like I did this evening, I make a huge batch of breakfast burritos, wrap them in celophane, and freeze.
 
2 lbs. breakfast sausage
2 doz. eggs
1 bag frozen O'Brien style potatoes (with onions, bell peppers)
shredded cheese to liking
50-60 taco size flour tortillas


Dryer Duct Cleaning

After having the appliance repairman out 2 different times to work on the dryer and $300 later, my sister soon discovered that the problem was low airflow from the dryer vent preventing the clothes from drying. Our personal "handymen" spent all morning Saturday tracing over 30+ feet of ductwork from the dryer vent to the outside of the house. There are 3 seperate 90 degree turns up a wall, across the ceiling, and down another wall before reaching the outside wall 12 feet from the ground. Along this path is where the previous homeowner stockpiled years worth of lint and other unidentified items which caused the problem. So now that the problem has been discovered, how do you think the handymen tacked the job? Well, the preferred method involved a ping-pong ball taped to 40 feet of twine, a few pennies added for weight, two different sizes of electrician's fish tape, a ladder with volunteers taking turns holding the bottom for stability, and a leaf blower. I have included demonstration video.  If you decide to use this method, please proceed at your own risk.